Replacing The Batteries in My Razor with a Soldering Iron
I have owned a Philips HC5450 for ~10 years and it has served me very well. About 6 months ago, it started to not be able to hold charge - I'd have to have it plugged in for 2/3 hours before any use, then it would turn on once and stay on for a single use. If I tried to turn it off and on again, it would report low battery - sounds like the batteries were failing.
I did some searching and found a community ifixit post showing disassembly as well as a YouTube video of a very similar model. It looked easy enough, even for someone who has not used a soldering iron since I was at school - and the extent of my usage then was seeing who could make the biggest balls of solder. In an effort to try and reduce the amount of waste I'm producing, I decided to give it a try fixing it myself - if I broke it then I'd just buy a new one and hopefully I would have learnt something along the way.
So I looked on Amazon and found the best selling soldering iron (£15.99) and got 2 of the same batteries from the YouTube video (£13.36) - I couldn't find the exact same ones from the video that were pre-soldered, so I figured I'd have to solder them together somehow.
Disclaimer: I am not a qualified electrician. Anything you do to your own possessions is your own responsibility and done at your own risk.
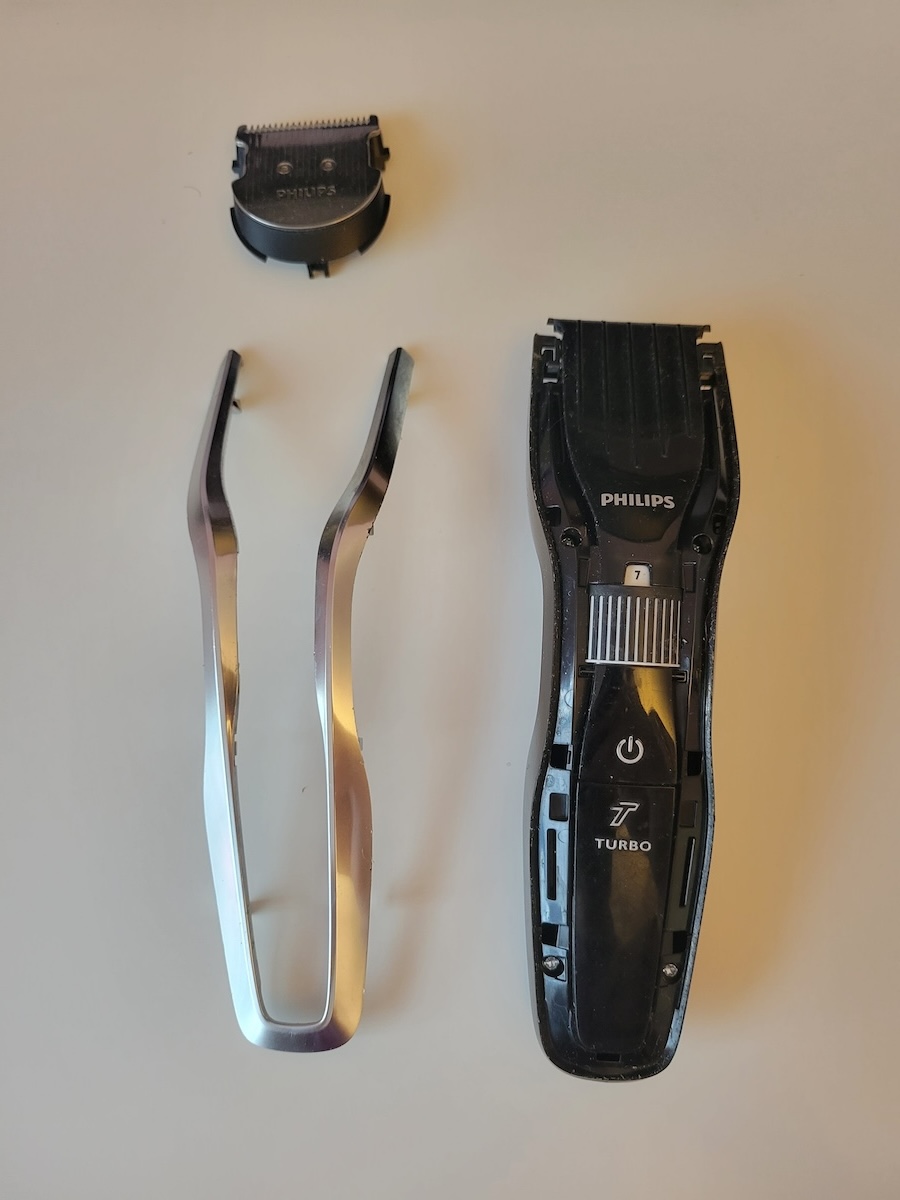
First I had to disassemble with a flathead screwdriver and some force:

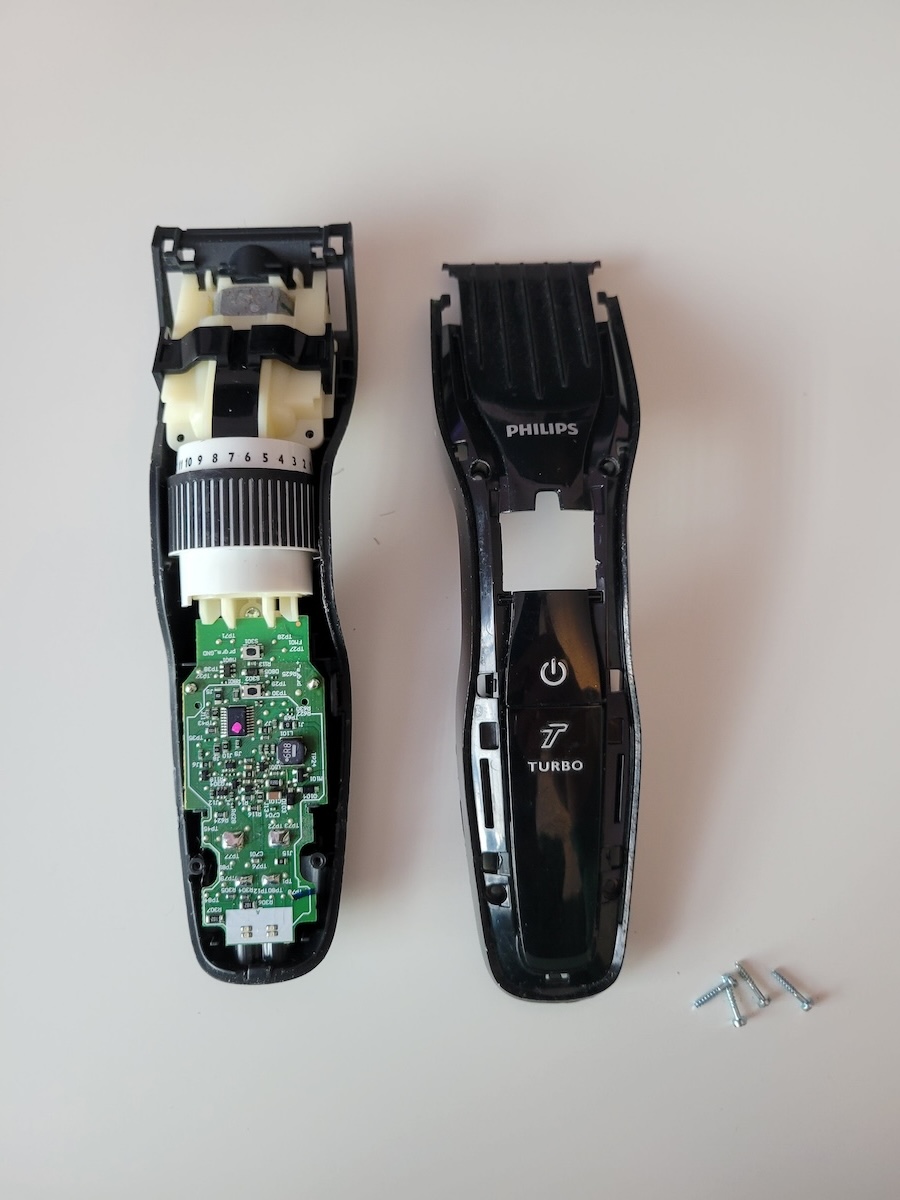
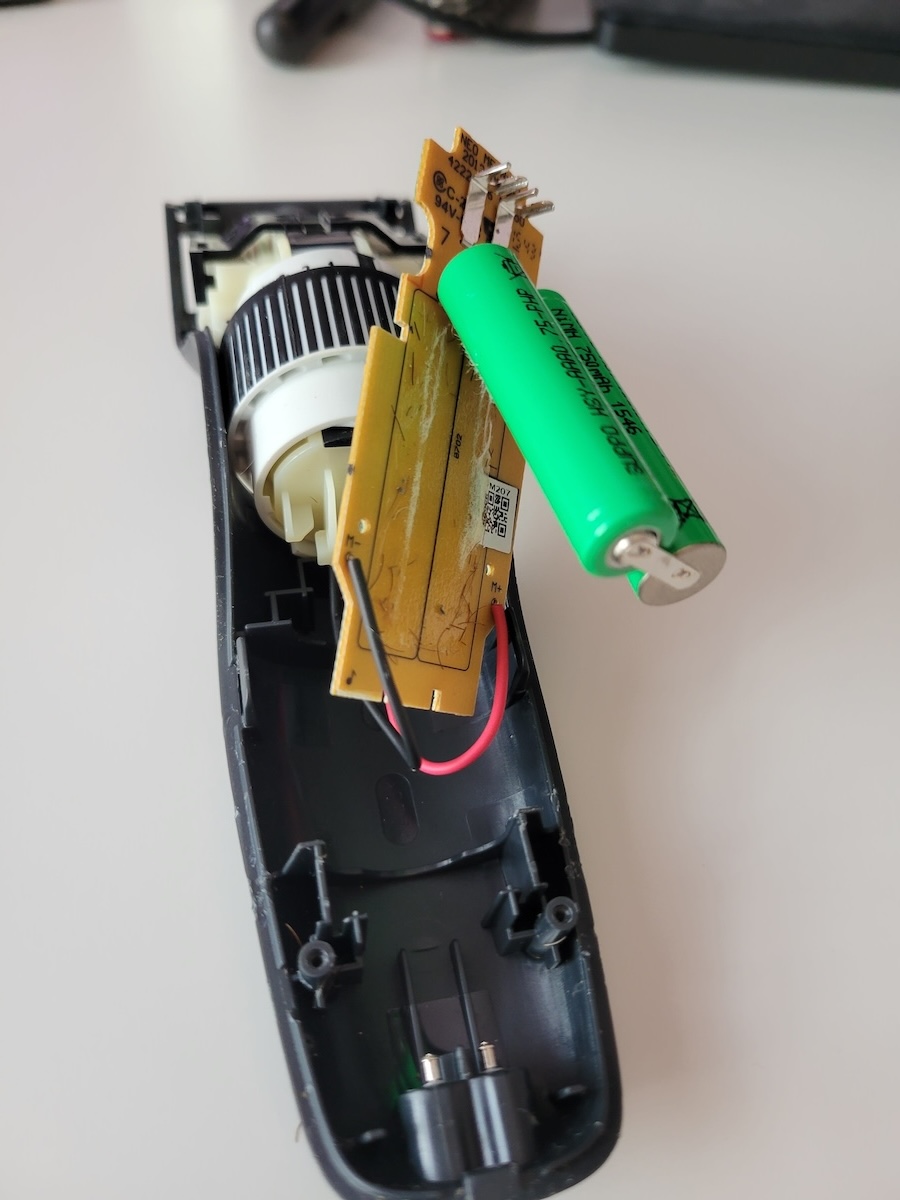
Then I removed the whole front with a torx screwdriver:
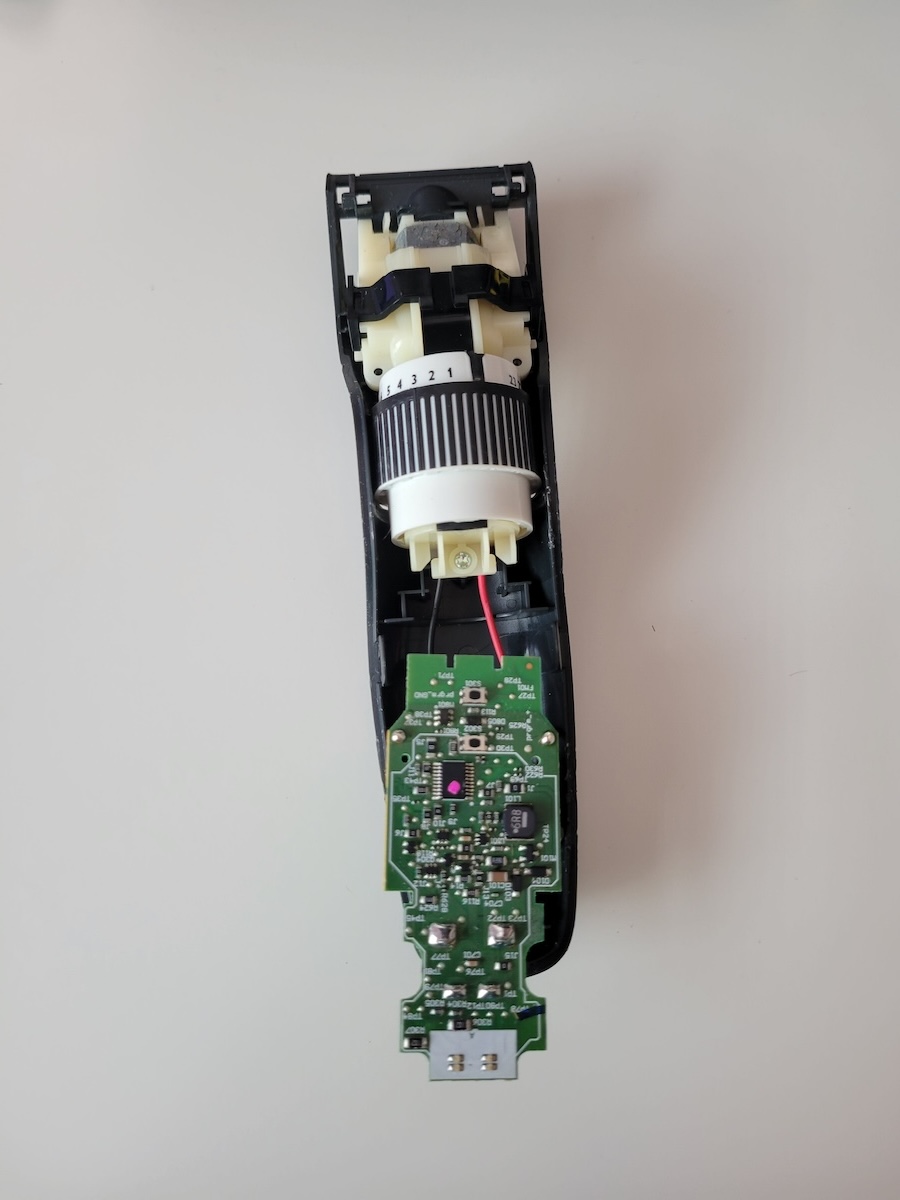
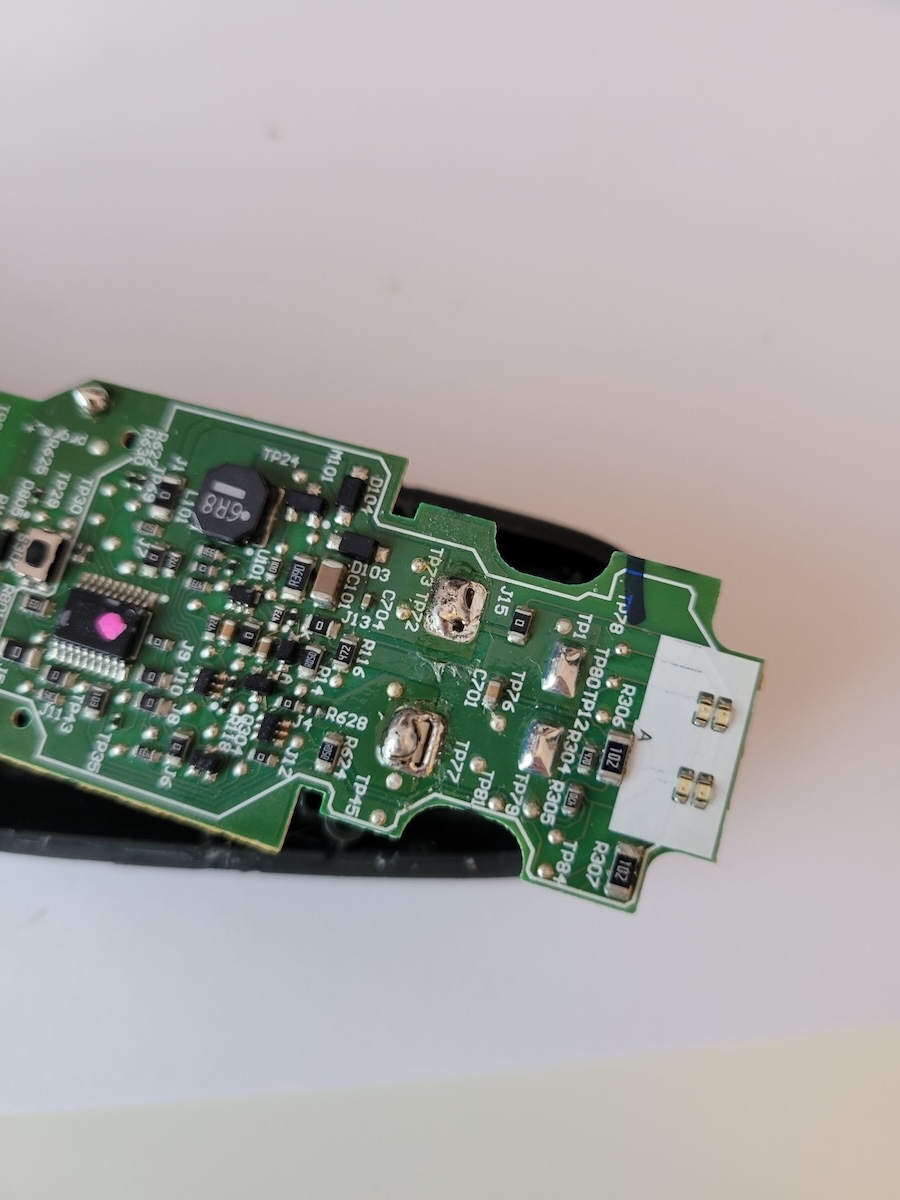
With some force I was able to remove the circuit board:
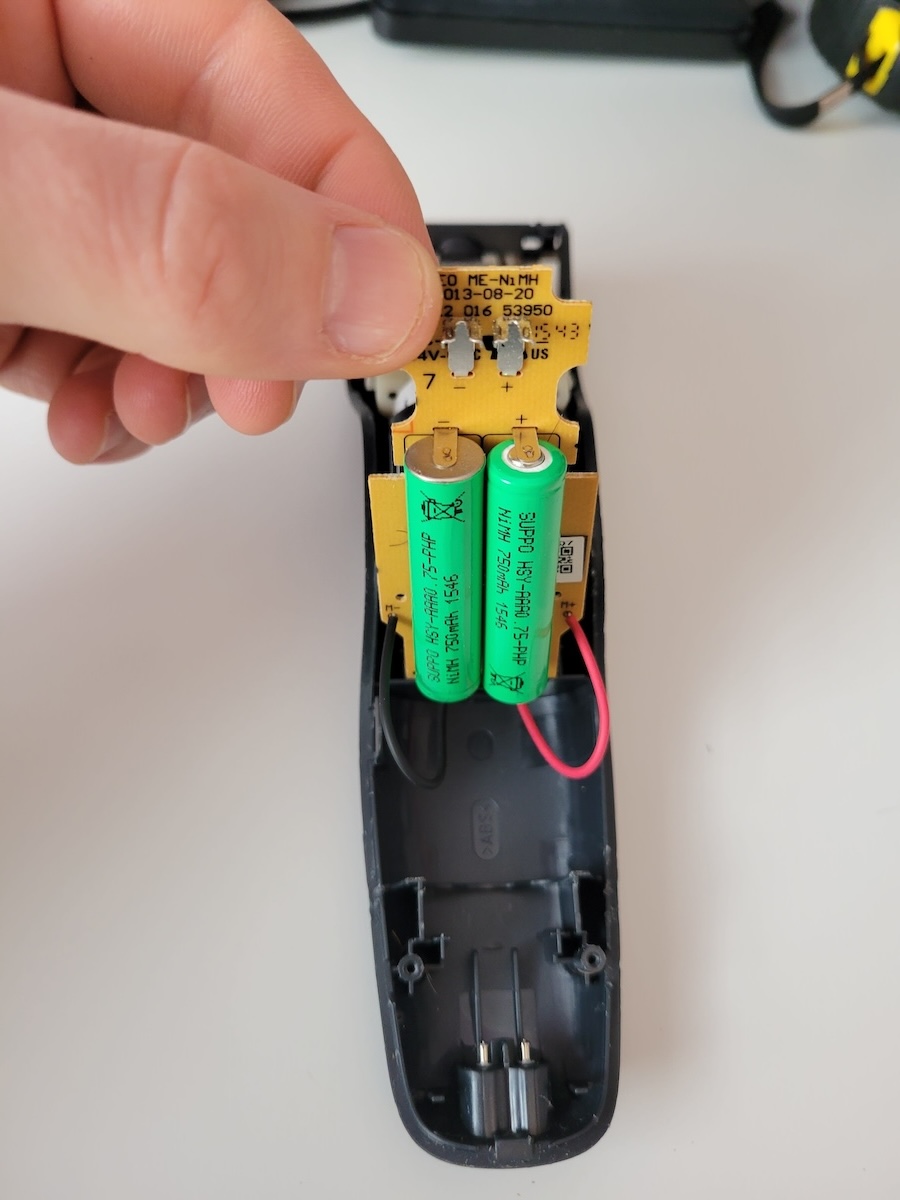
The batteries are underneath attached with some mild adhesive:
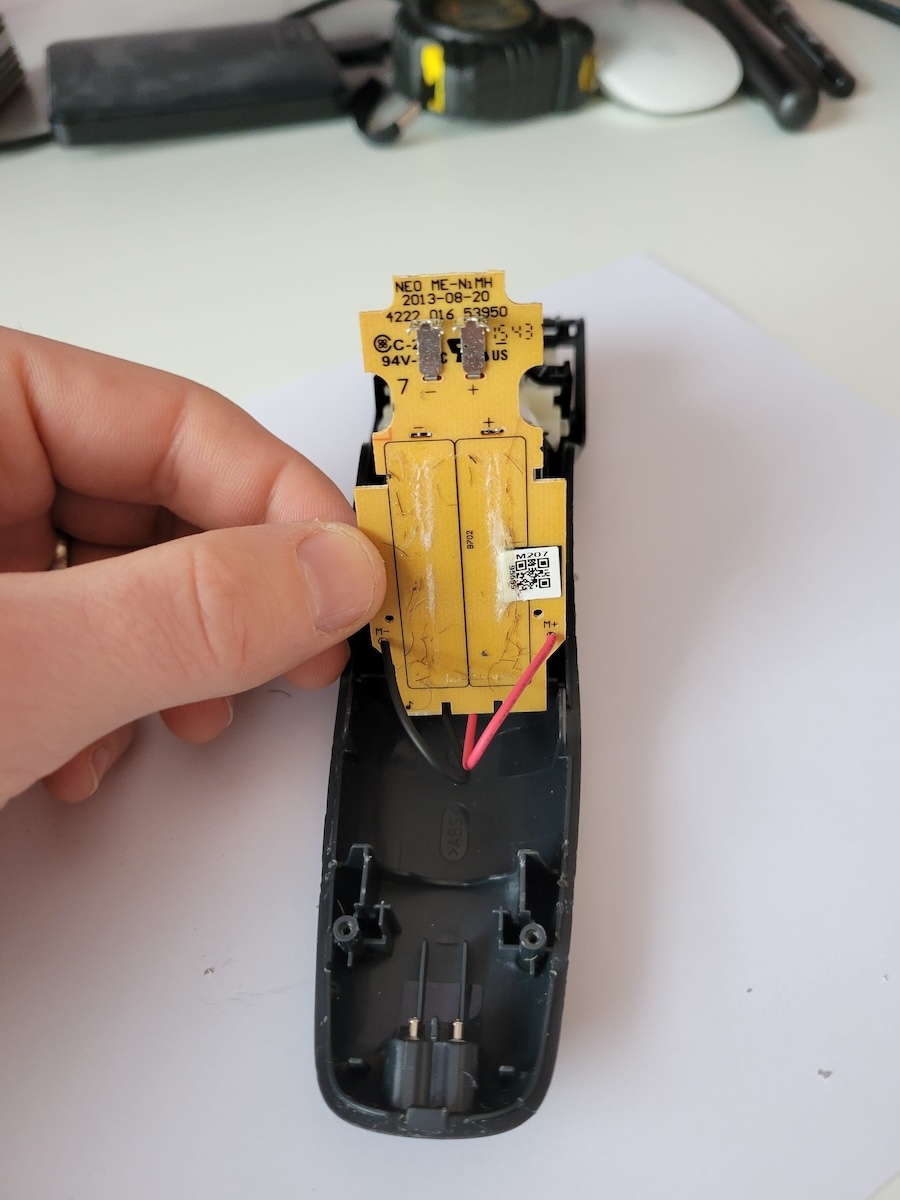
I removed them by heating the solder on the opposite side until they came out:
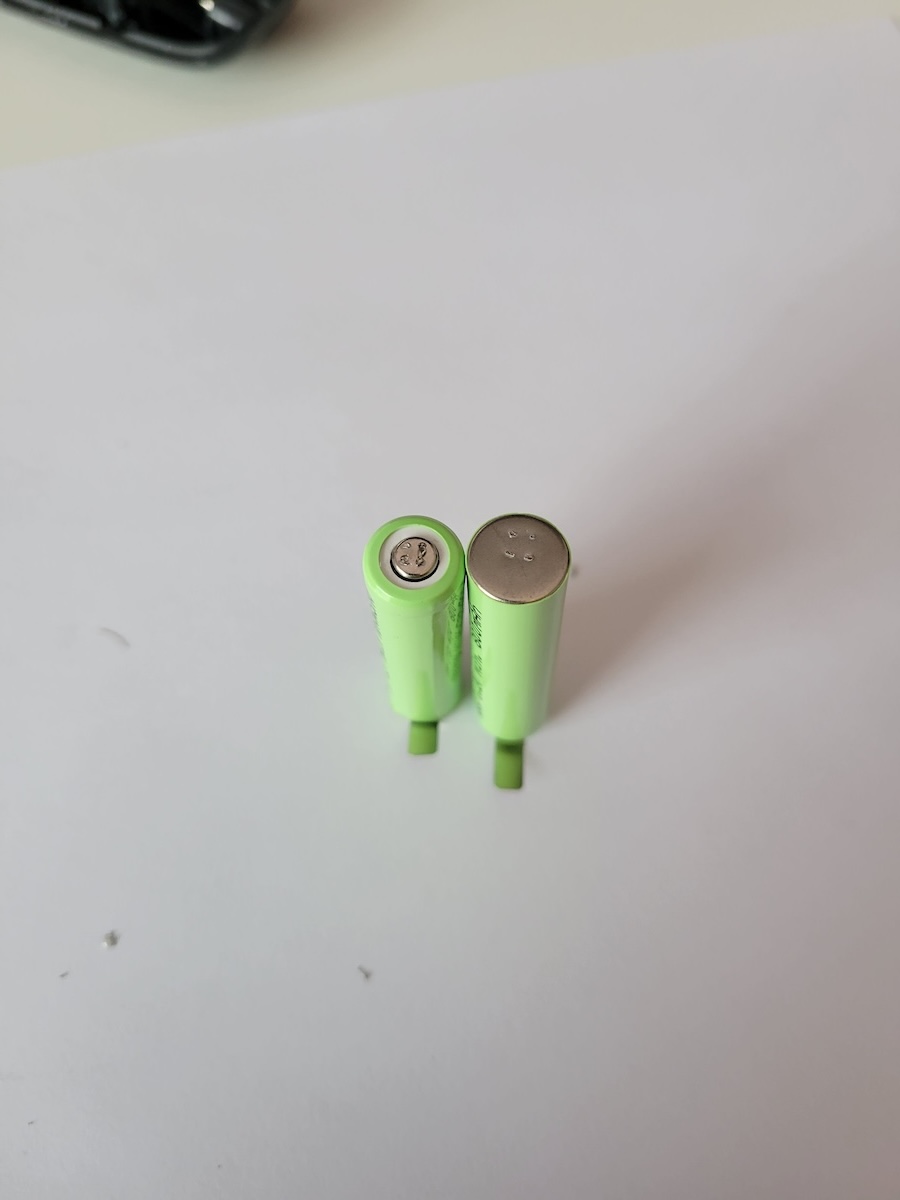
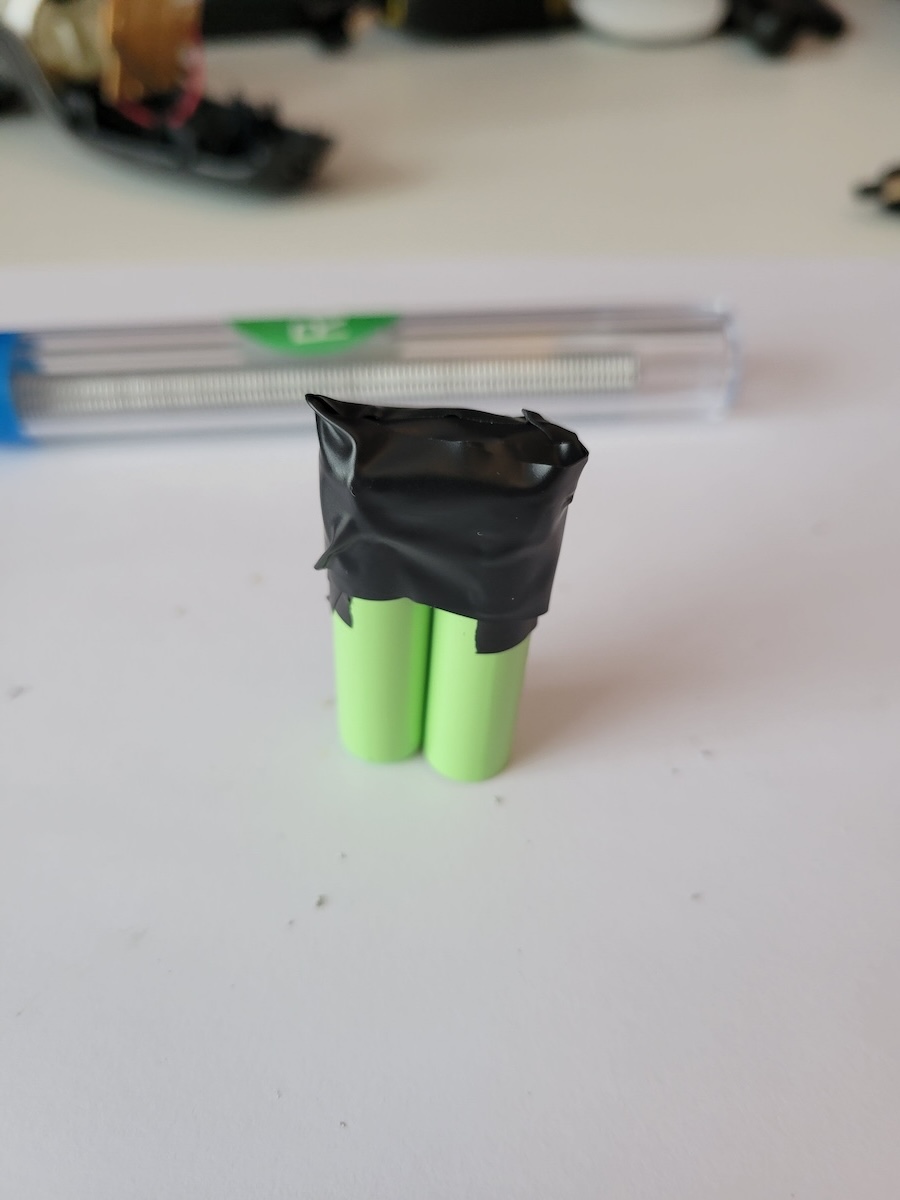
Now it came to the new batteries. They came separately, so I had to solder two of them together
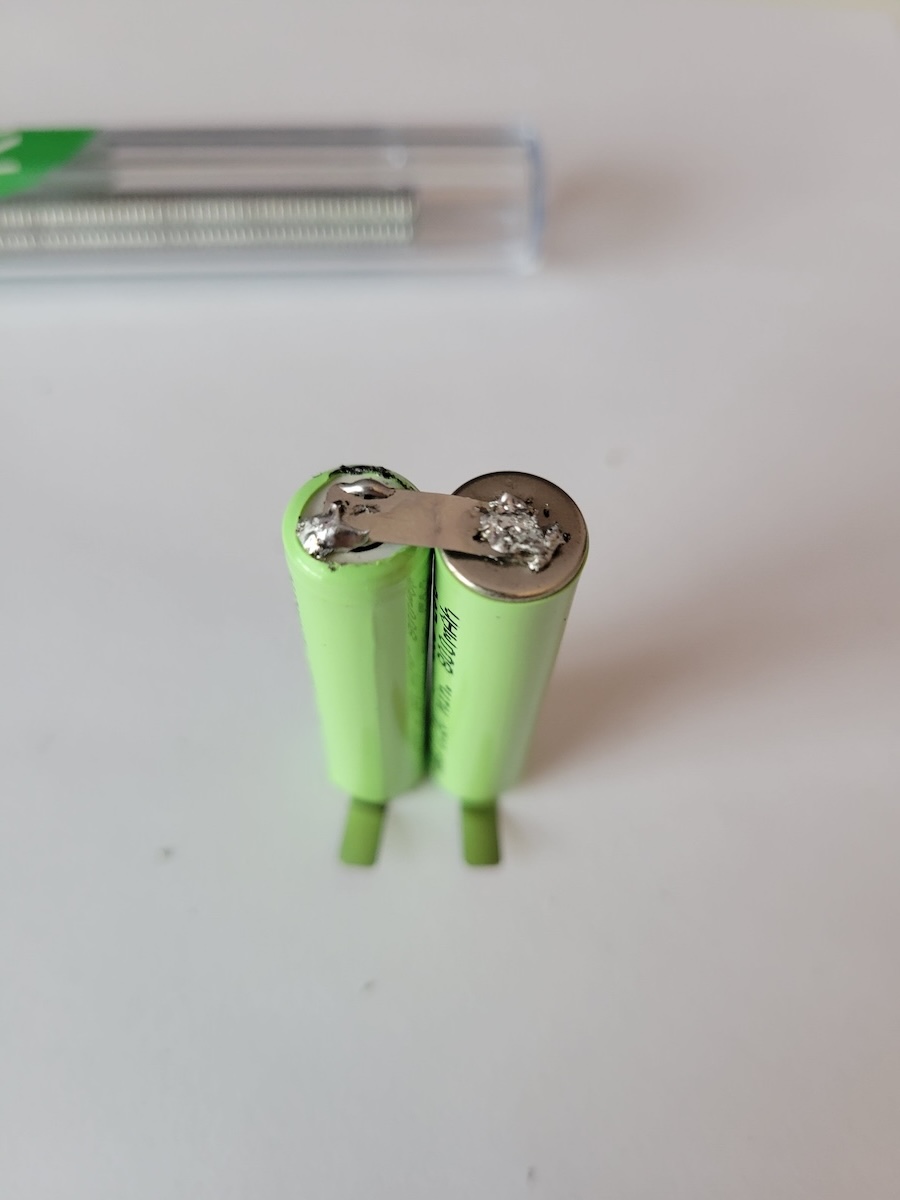
I hid my soldering sins with some electrical tape:
Then I pushed these two onto the board and soldered them onto the other side:
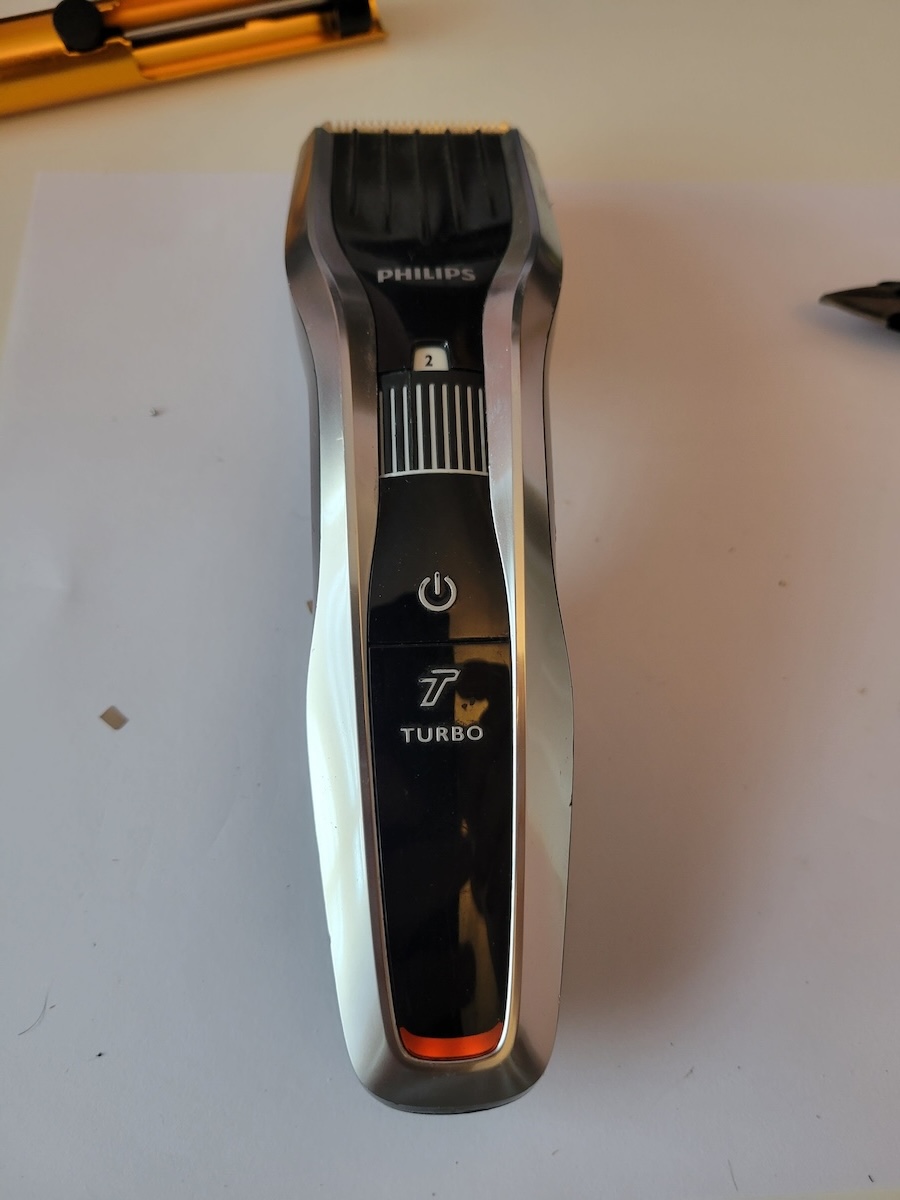
The moment of truth! It turns on!
There's something incredibly satisfying about fixing something like this, that would normally get thrown away. I hope manufacturers of small electronics are forced to consider maintenance and repair like this in future. I dont think there's any real reason why these needed to be soldered in? I'm very glad I was able to do something like this with absolutely no previous experience.